Skip to content
- Home
- Magneto 1
- 49. This tutorial is going to show you how to manage a “Cloud Zoom” module on your Magento template.
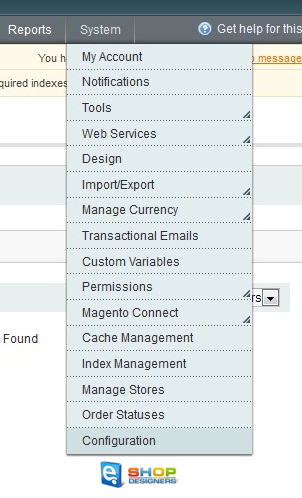
- To enable the module, go to System -> Configuration
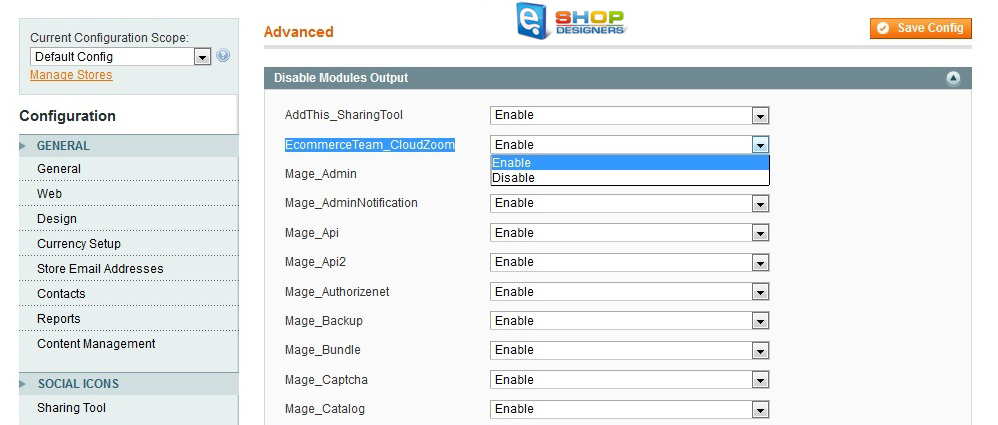
- Then go to Manage -> Advanced -> Disable Modules Output -> EcommerceTeam_CloudZoom -> Enable. Click Save Config
- Go to System -> Configuration ->Catalog
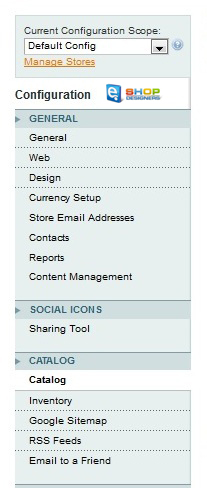
- On the next page under ‘Cloud Image Zoom’ you will find a list of options to configure the module. Let’s take a closer look at them:
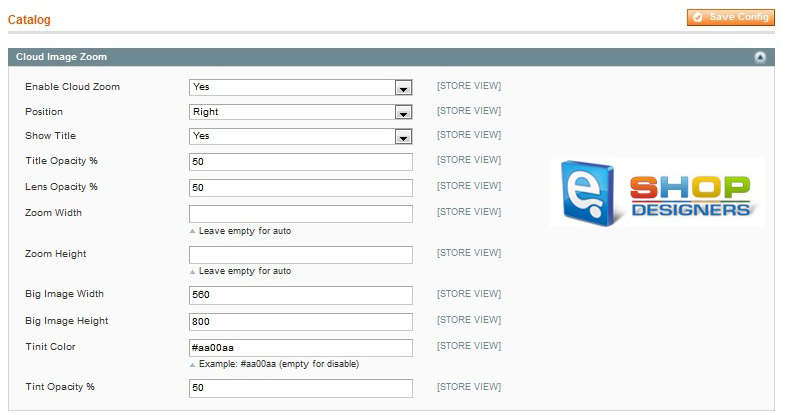
- Enable Cloud Zoom – when ‘yes’ is selected, the option enables the Cloud Zoom in your product images
- Position – allows to change the Cloud Zoom position on the product images to one of the following: right, left top bottom inside;
- Show Title – allows the product title to appear at the top of the image when you mouse over the Cloud Zoom;
- Title Opacity % – (for inastance, set to 50) allows to change the opacity of the string at the top of the product image which shows the product title;
- Lens Opacity % (for inastance, set to 50) allows to change the opacity of the lens;
- Zoom Width (Leave empty for auto) allows you to manually change the zoom width;
- Zoom Height (Leave empty for auto) allows you to manually change the zoom height;
- Big Image Width (e.g. 560) allows you to automatically change the width of the enlarged image;
- Big Image Heigh (e.g. 800) allows you to automatically change the height of the enlarged image;
- Tint Color (e.g. #aa00aa or leave empty to disable) allows you to specify the tint color for the Cloud Zoom;
- Tint Opacity % (e.g. 50) allows you to change the tint opacity for the Cloud Zoom.
- Click ‘Save Config’ at the top right when you are done.
- Open any of the product pages to see the changes applied.