5. Magento. How to edit banners
1 min read- Log into the admin panel of your store. Navigate to CMS -> Pages -> Home:
- Select the Design tab. You will find banner reference there:
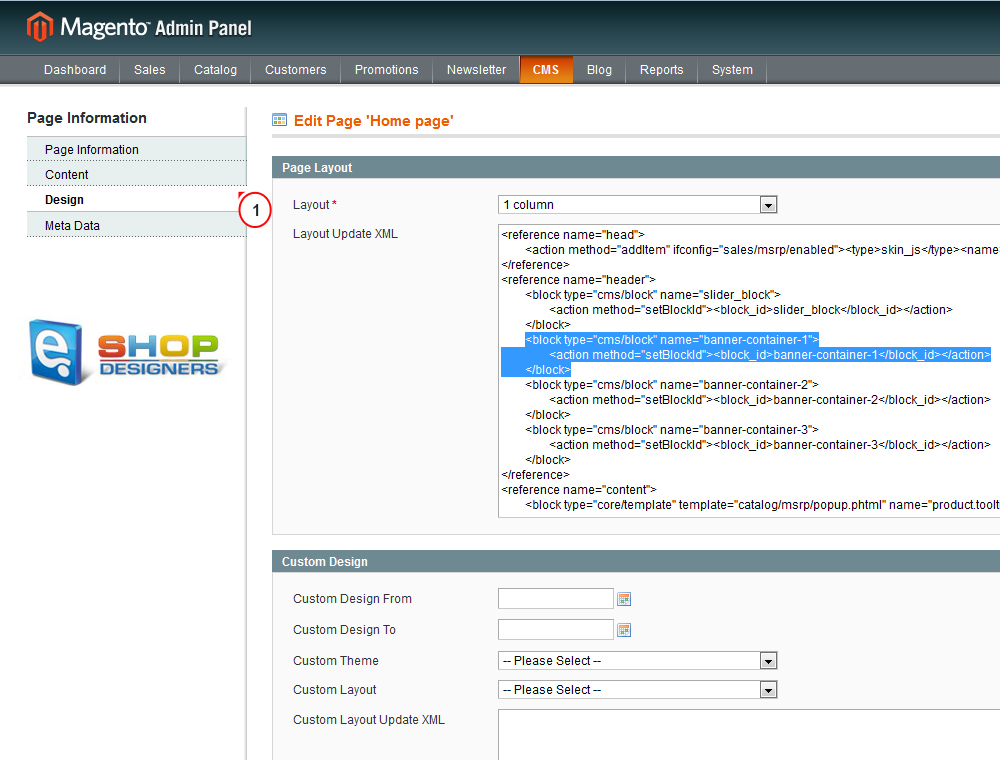
- This means banners are controlled by a static block.
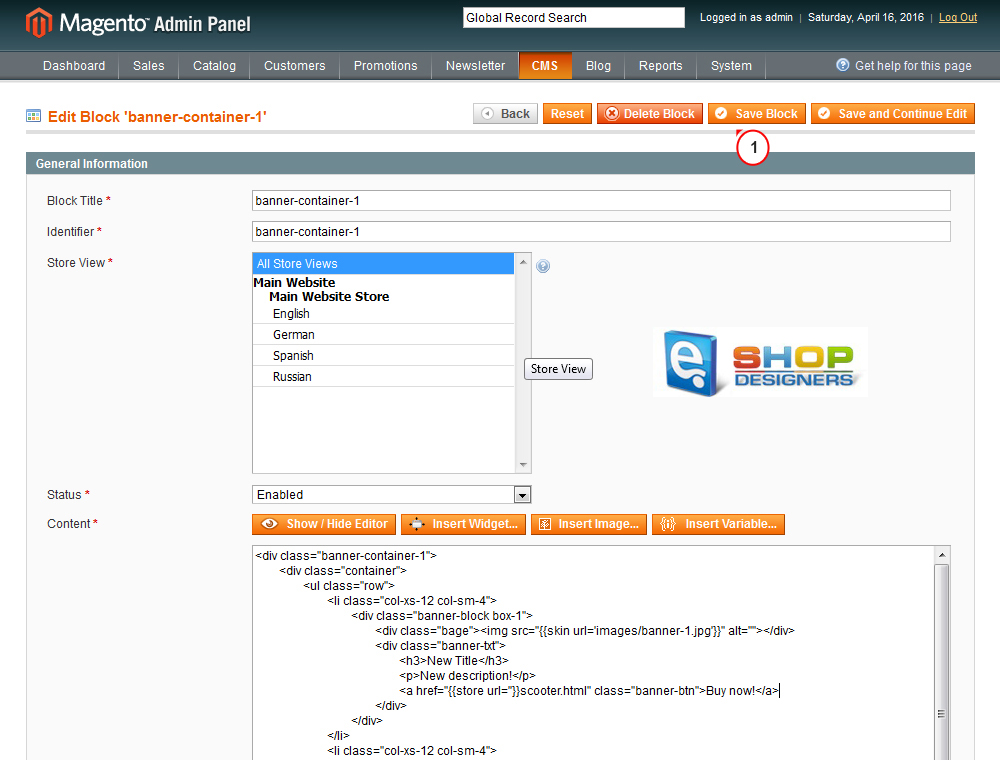
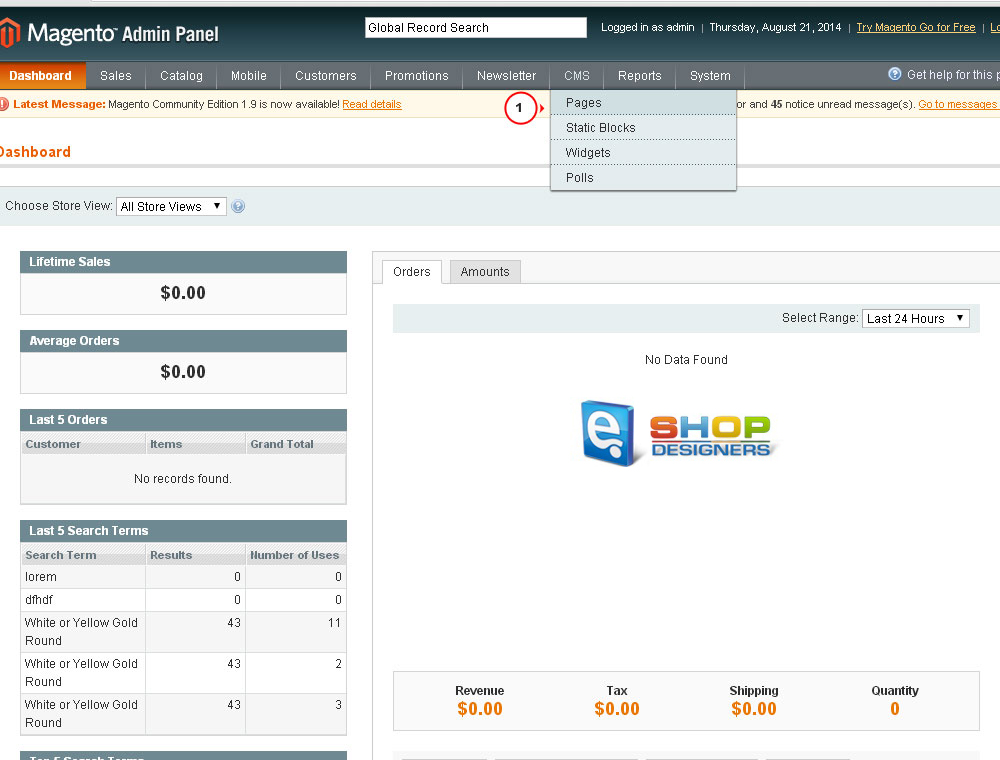
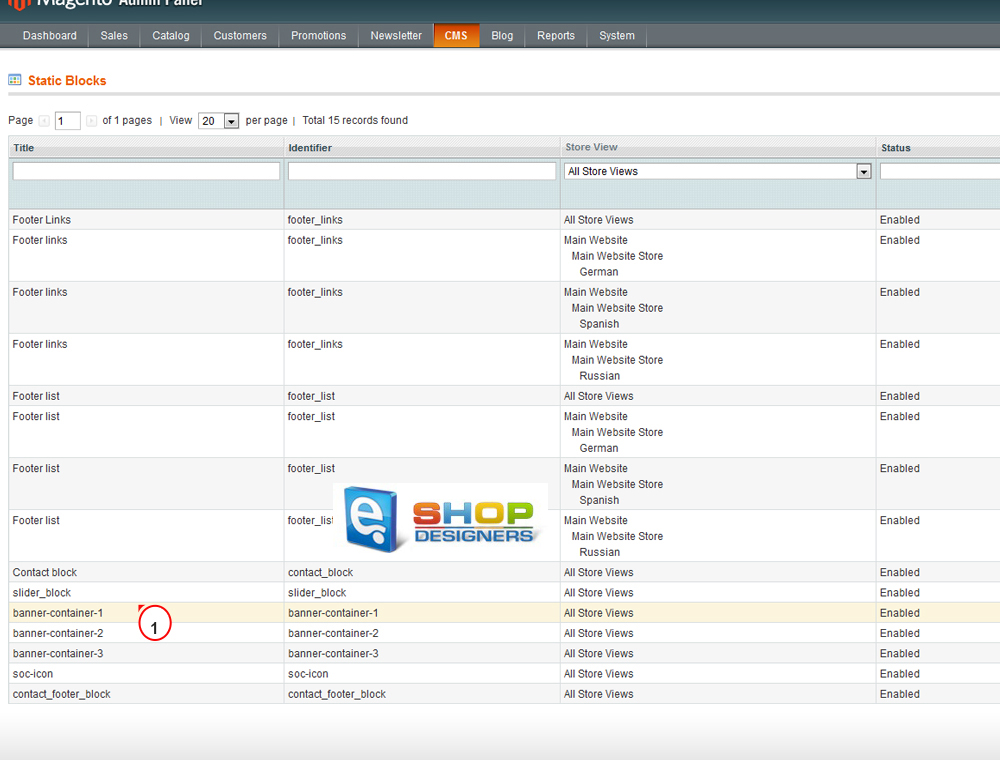
- Go to CMS -> Static blocks -> Banner-container:
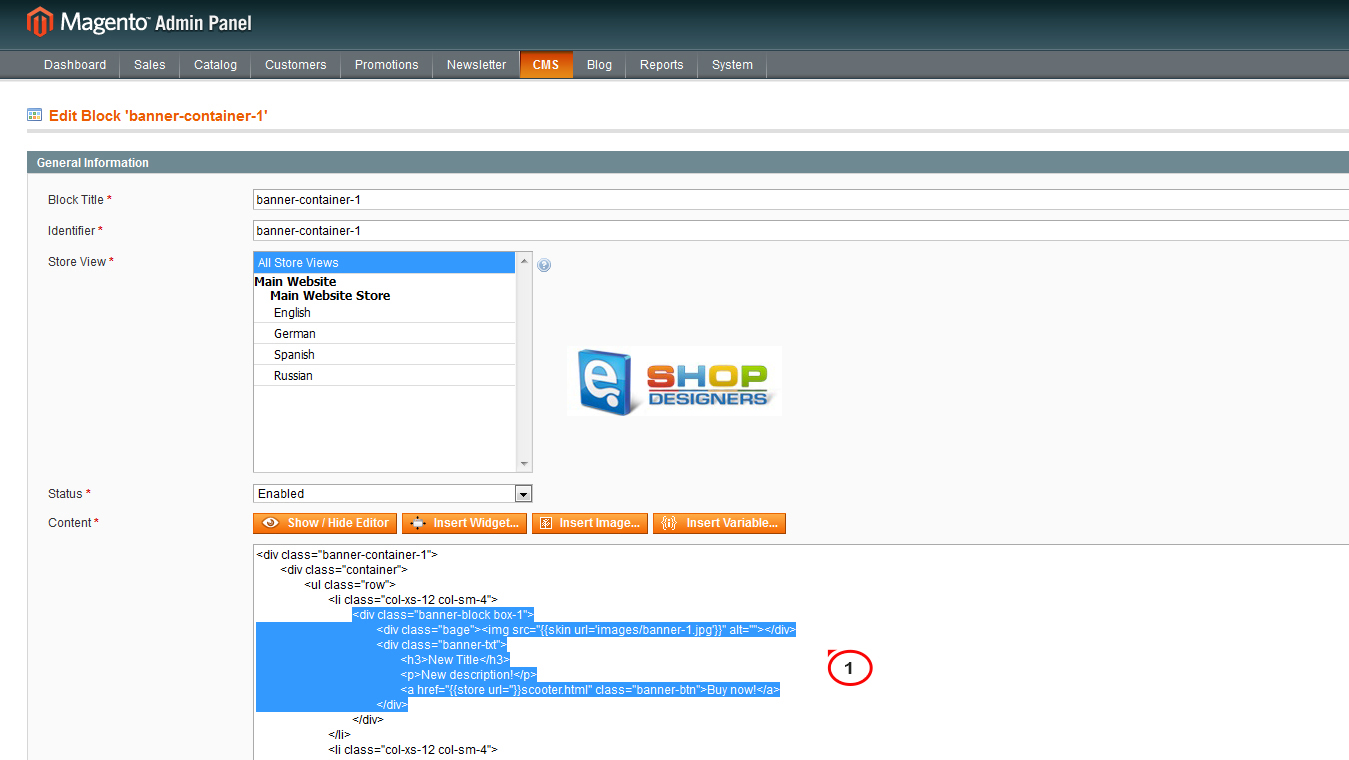
- Search for the following piece of code:
123456<div class=”bage”><img src=”{{skin url=’images/banner-1.jpg’}}” alt=”” /></div><div class=”banner-txt”><h3>Cruisers</h3><p>Duis ultr icies pharetra magnonec accuanl esuada orcinec sitmet eros.</p><a href=”{{store url=”}}cruiser.html” class=”banner-btn”>Shop now!</a></div>
- Here you can modify the image, link and text for the banner:
- In order to change the link for the banner, you have to open the required page and copy its URL. Place it instead of page_url here in <a href={{store url=”}}></a> line.
- The default reference used for the banner image is <img src=”{{skin url=’images/banner-1.jpg’}}” alt=””>. Replace the default name of the file with the required one. Make sure new banner image is uploaded, usually it is located under /skin/frontend/default/theme###/images/media/ folder on server.
- <h3>Cruisers</h3> is where you can change banner text. Update it with your own one. Make sure text is placed within the <h3> </h3>tags.
Use ‘Save Block’ button to apply the changes and open Magento front-end to view modifications.